Media Wall Lighting & LED Integration
The right lighting turns a media wall from a nice piece of furniture into the focal point of the room. Backlight, cove, accent, and bias light — built directly into the panels so you see the glow, never the source.
Why Lighting Is the Most Underrated Detail on a Media Wall
Layered Light, Not a Single Source
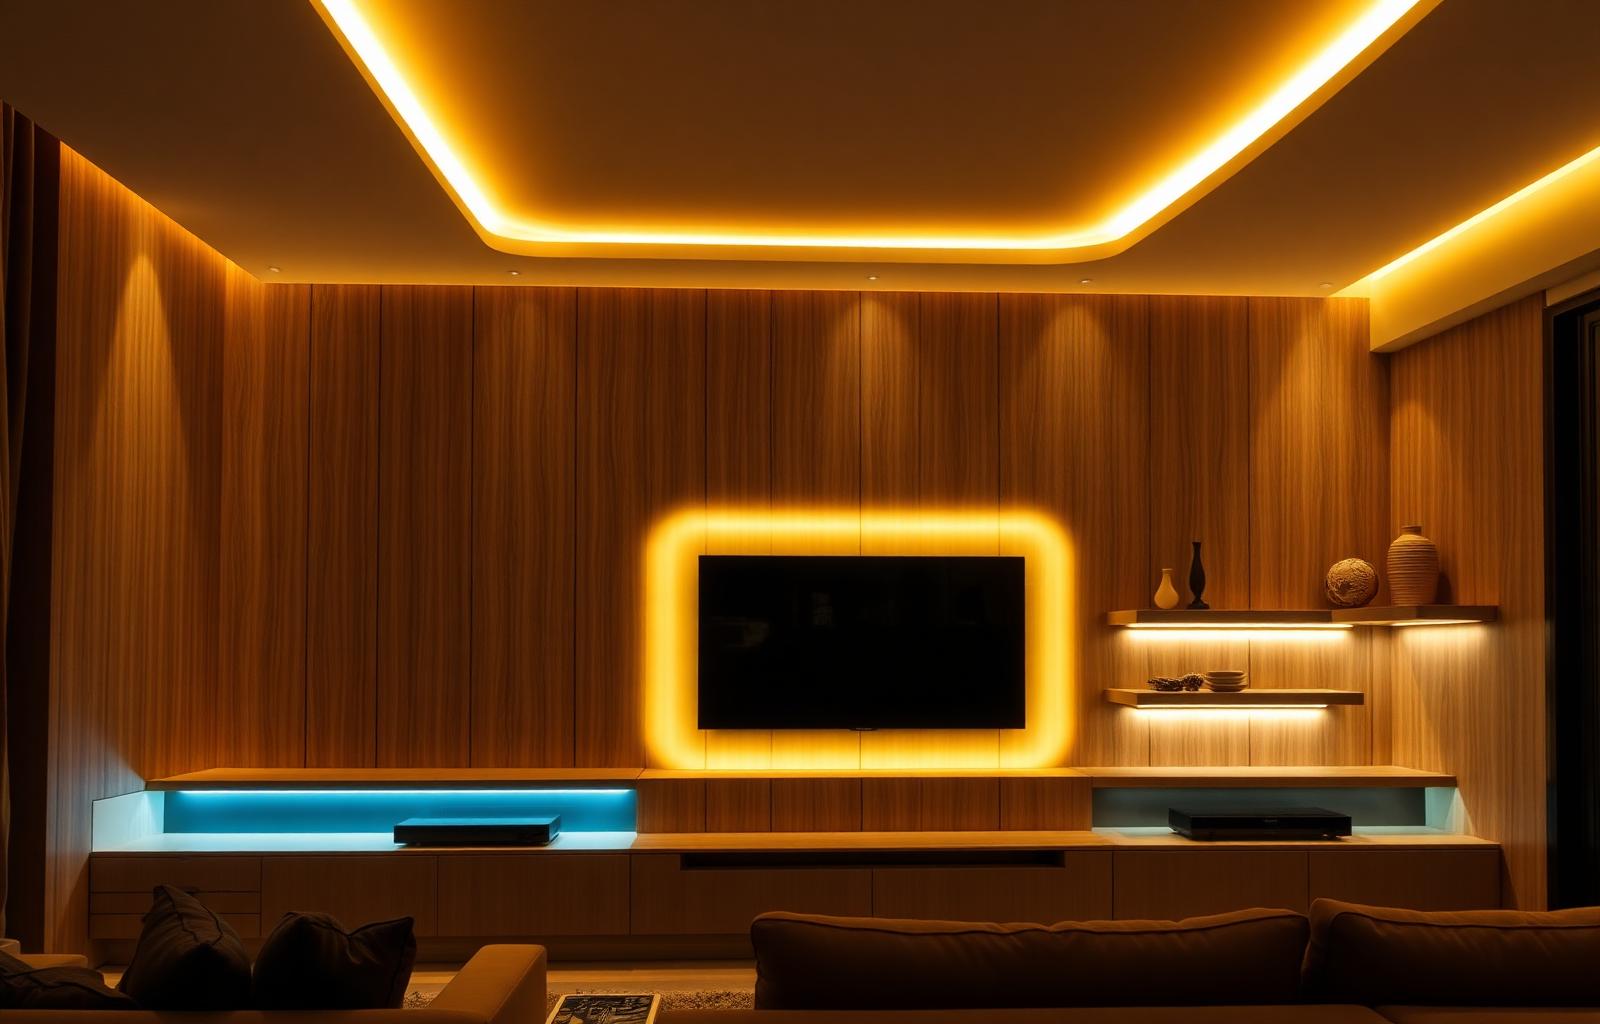
A great media wall is never lit by one fixture. Backlight behind the TV reduces eye strain, cove uplight defines the ceiling line, and accent spots pull the eye to your shelves and finishes. Layered lighting is what makes a wall feel cinematic instead of ordinary.
Reveal the Materials You Paid For
Slat wood, stone ledger, brushed brass — every premium finish only comes alive under raking light. We build lighting into the wall so the textures and grain of your panels are visible day or night, not flat under a single overhead bulb.
One Tap From Movie Night to Dinner Party
Smart-controlled scenes let you go from a 2700K warm dim glow for movie night to crisp 4000K daylight for reading or hosting — all from your phone, voice assistant, or a single in-wall switch. No fumbling with multiple dimmers or remotes.
Where Light Belongs on a Media Wall
Lighting placement is the single biggest design lever on a media wall. Here are the five zones we engineer into every install — and what each one is doing for the room.
TV Halo Backlight
Light role: Cinematic

Ceiling Cove Uplight
Light role: Architectural
Shelf Accent Spots
Light role: Focal accent

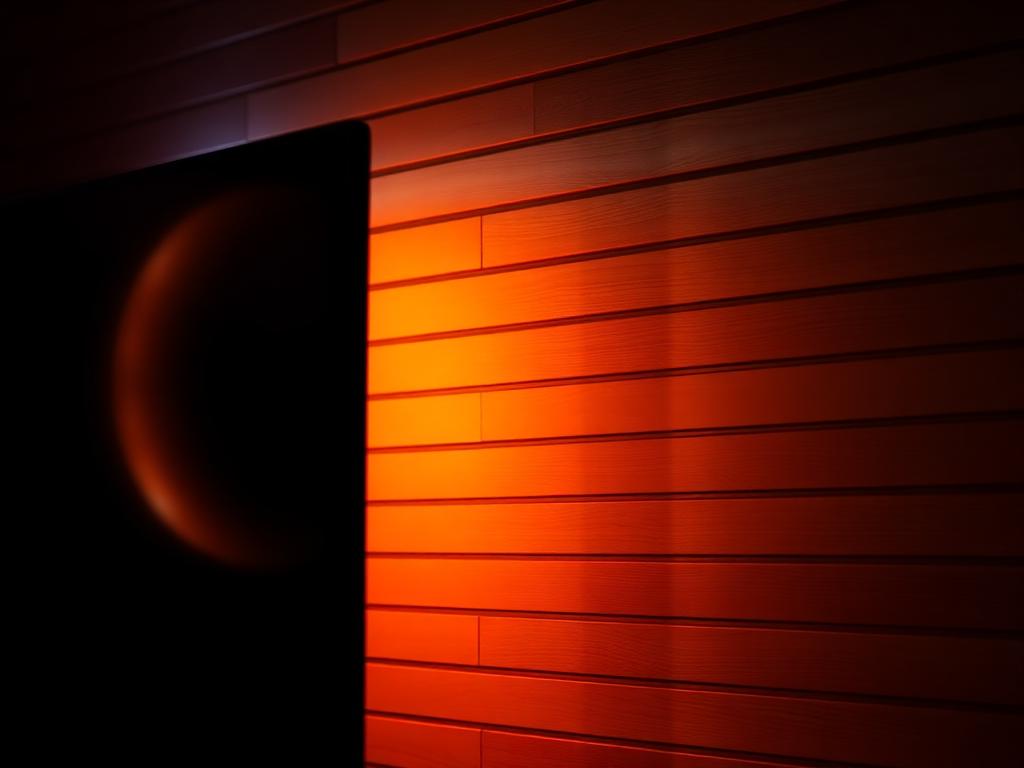
Vertical Panel Wash
Light role: Texture-revealing
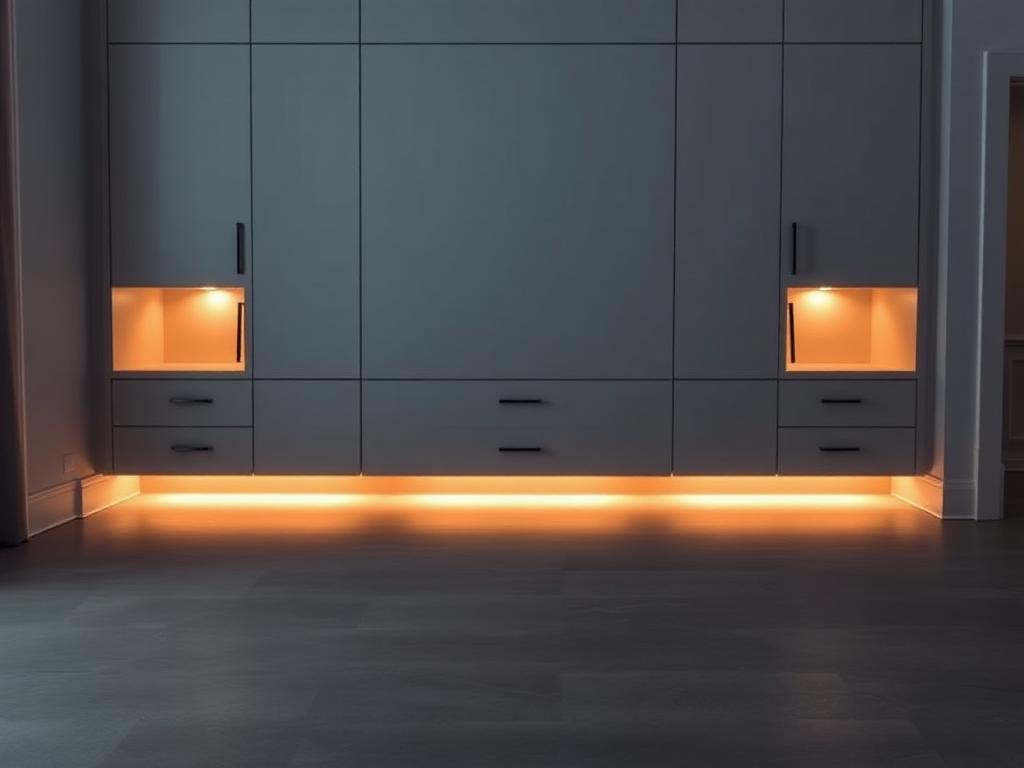
Floor-Level Toe-Kick
Light role: Floating effect
Six Lighting Layers for Custom Media Walls
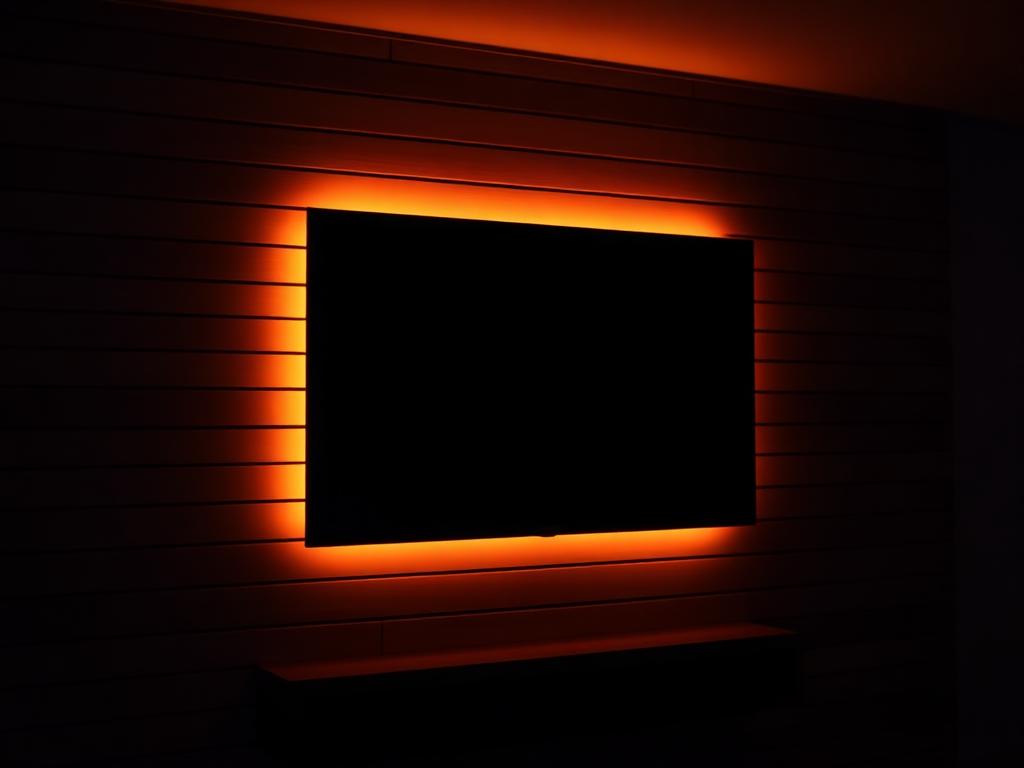
Backlit LED Halo
A continuous LED strip mounted to the back edge of your TV that projects a soft halo onto the wall behind it. Available in warm white, cool white, or full RGB+CCT for color-changing scenes synced to on-screen content.
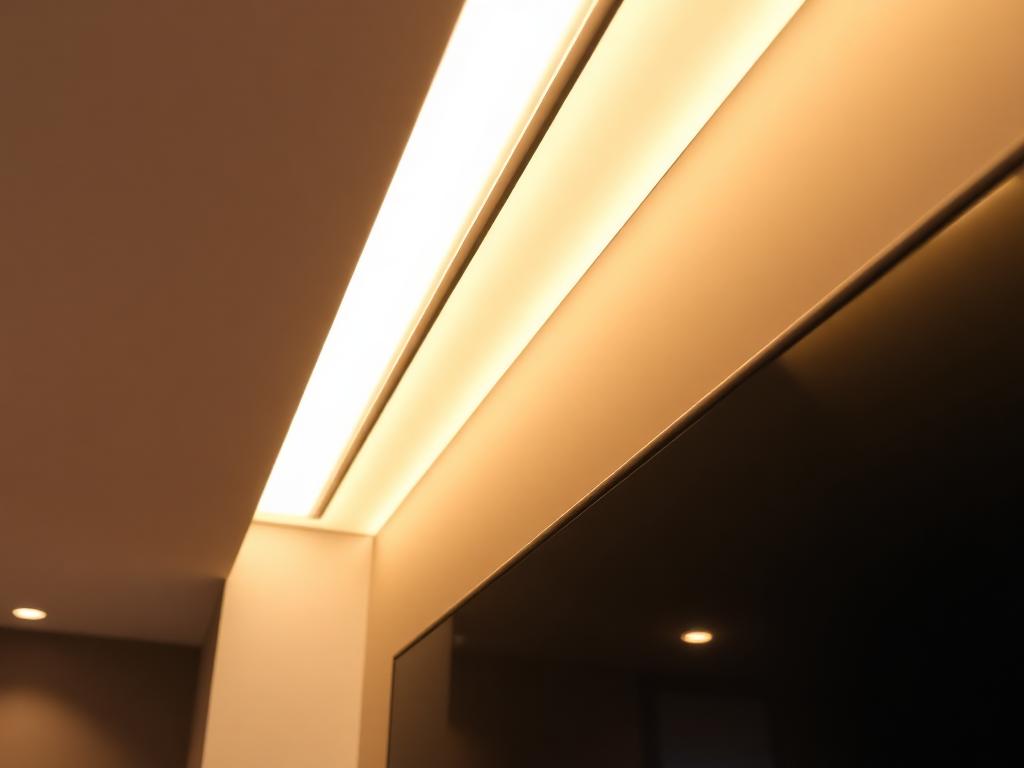
Cove Lighting
A recessed linear LED tucked into the top edge of the media wall that softly washes the ceiling above. Creates a glowing horizon line that defines the wall as architecture rather than furniture.
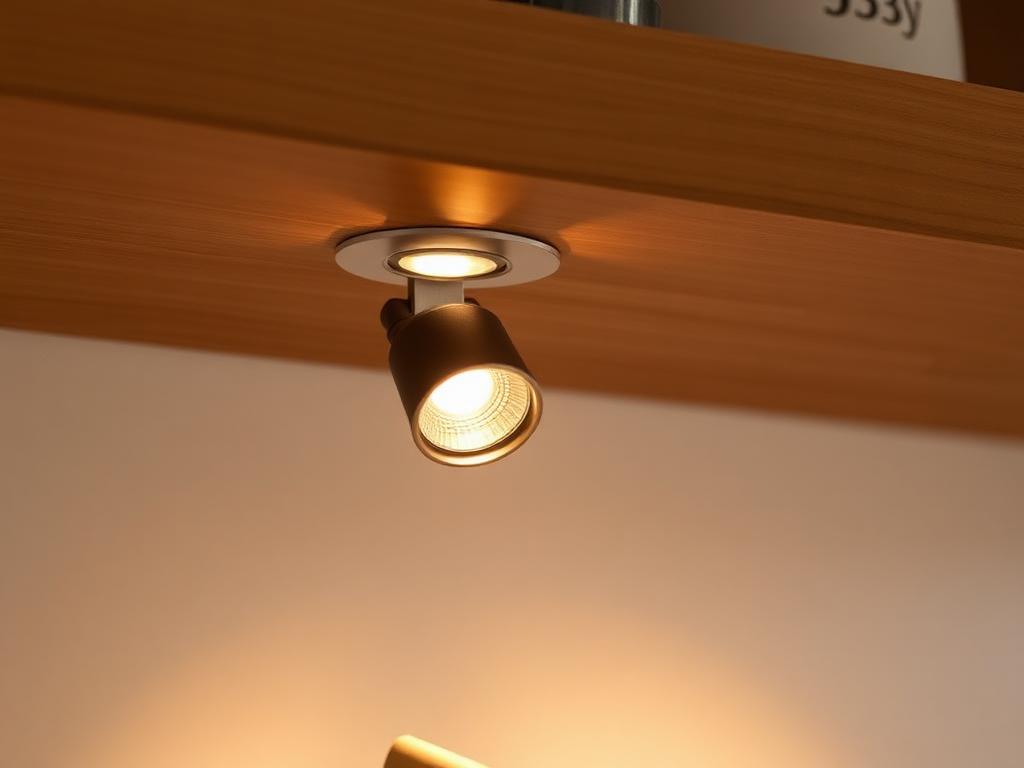
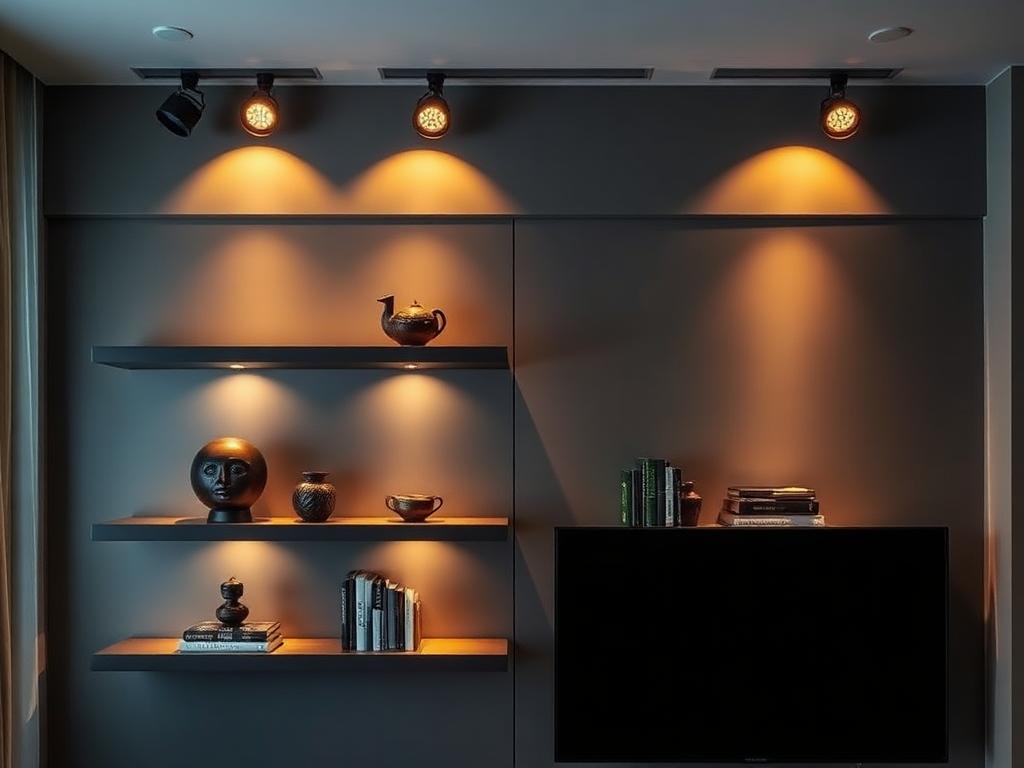
Recessed Accent Spots
Adjustable directional micro-spots flush-mounted into the underside of shelves or the panel face. Each spot independently aimed to highlight a specific object, art piece, or finish detail.

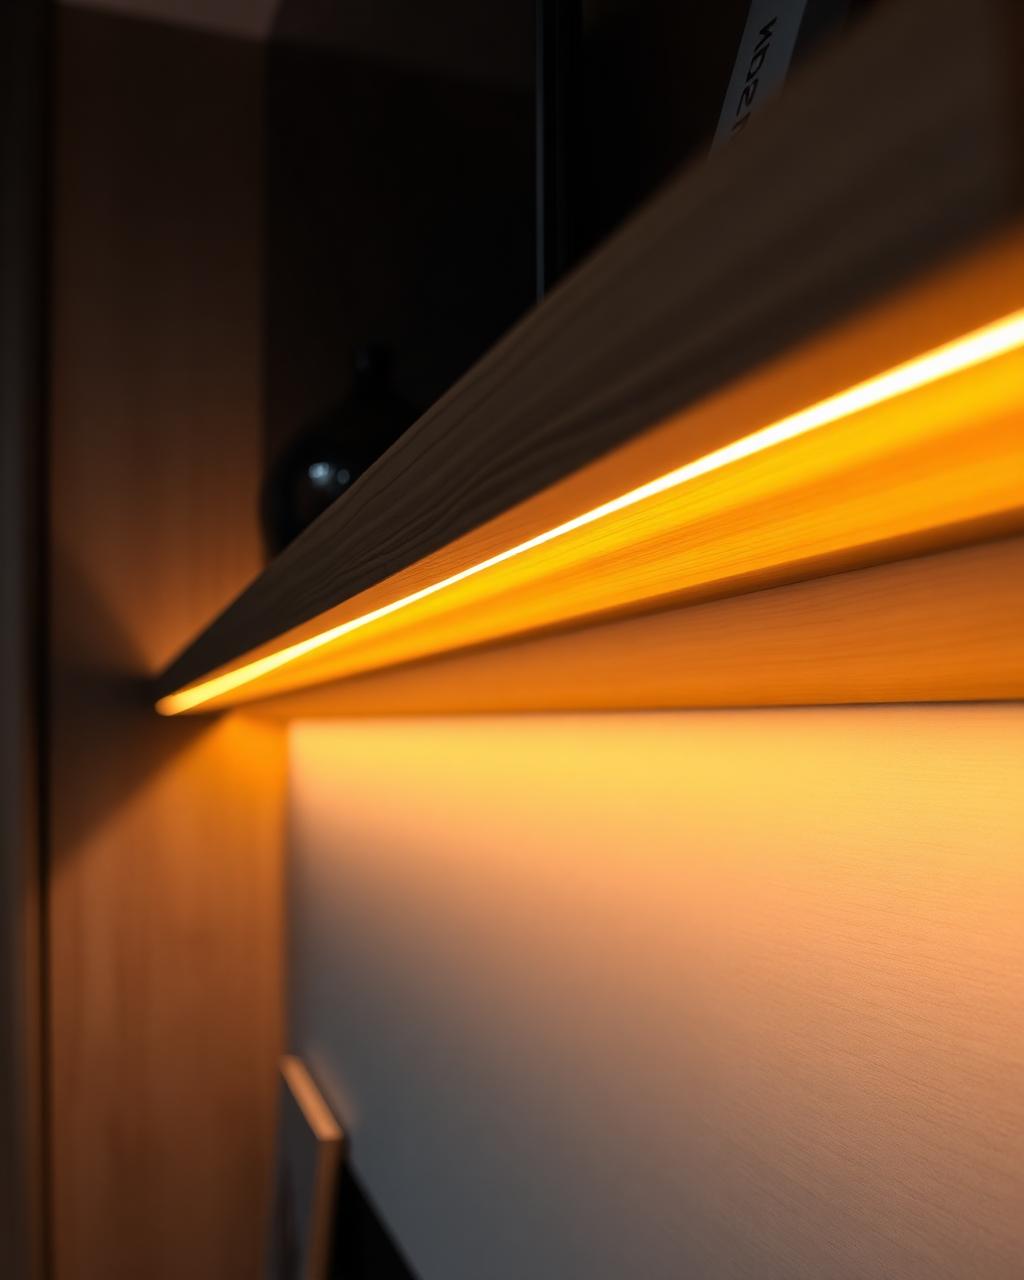
Linear Wash
Low-profile linear LED strips mounted at the edge of a panel that graze raking light across the surface — the only way to truly reveal the texture of slat, stone, or fluted finishes after dark.
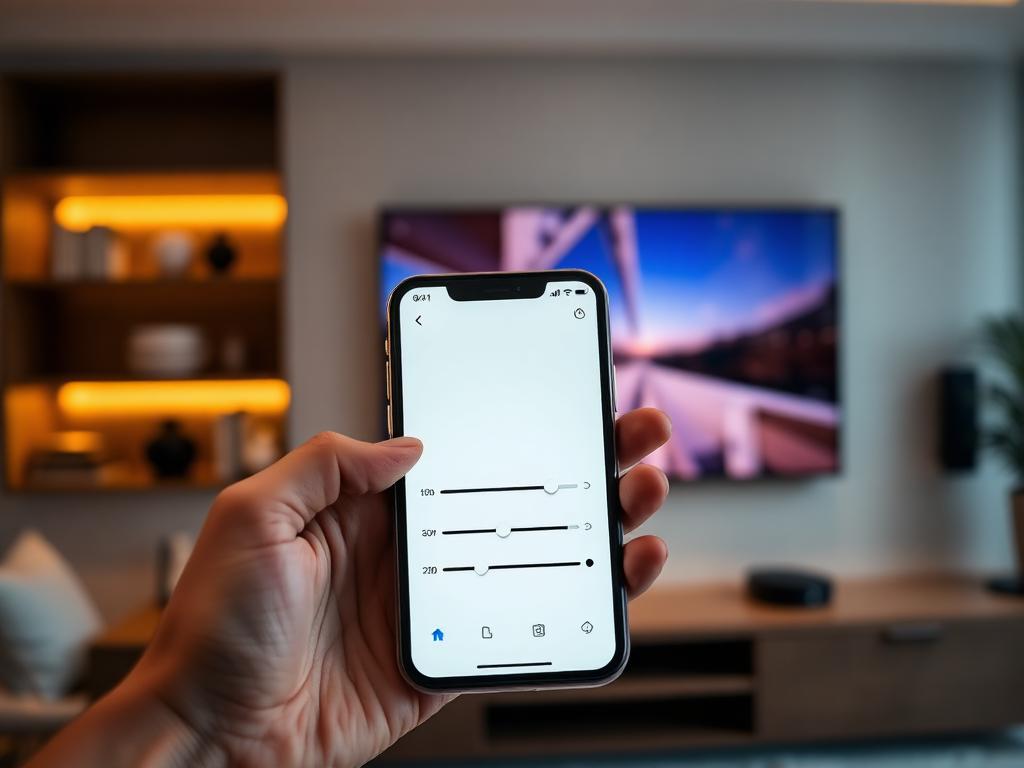
Smart Controller
Wi-Fi and Bluetooth controller that runs the entire wall from one app or voice command. Pre-programmed scenes, sunrise/sunset schedules, and integration with Lutron, Apple Home, Google, and Alexa.
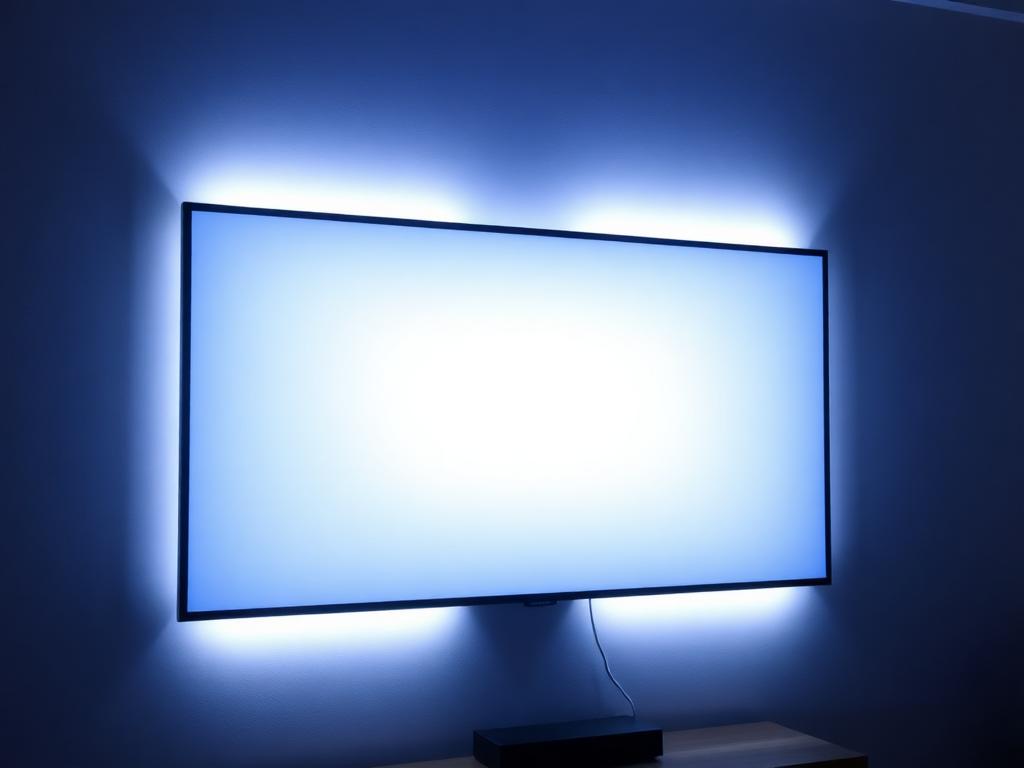
Bias Lighting Kit
Daylight-temperature 6500K LED strip on the back of the TV chassis (separate from the halo). Calibrated to TV manufacturer specs to neutralize on-screen color shift and reduce eye fatigue during long sessions.
How to Light a Media Wall Like a Designer
Three rules separate professional lighting from a strip-light retrofit. Every wall we engineer follows them — and you can apply the same logic to any DIY kit install.
Always Layer at Least Three Sources
A single bright source — even a beautiful one — flattens a wall. The minimum design we install includes one ambient (cove or backlight), one accent (spots or wash), and one task (bias or shelf-edge) source. The interplay of three is what makes the wall feel cinematic.
Default to 2700K Warm — Layer Cooler Light Sparingly
Warm light (2700K–3000K) compliments wood, stone, and warm whites — the materials most media walls are built from. Cool light belongs only on bias strips behind the TV and occasionally on art-display spots. Mixing temperatures randomly is the fastest way to make a wall look amateur.
Hide Every Source — See Only the Glow
If you can see the LED strip itself, the design failed. Every channel we install is recessed behind a frosted lens or tucked behind a panel reveal so the eye sees the light, never the bulb. This is the difference between a luxury wall and a hardware-store install.
What to Look for in Media Wall LED Lighting
Generic strip lights from a hardware store will work — for about a year. Here's the spec we engineer into every The Media Wall Store install and DIY kit.
- Tunable white 2200K–6500K (warm to daylight)
- Low-voltage 24V DC — no dedicated circuit needed
- Flicker-free dimming from 1% to 100%
- Optional full RGB+CCT color-changing strips
- All wiring concealed inside panel routing channels
- App control + Apple Home / Google / Alexa
- Pre-programmed scenes (Movie, Reading, Party, Off)
- Recessed lens — no visible LED dots or hot spots
- 50,000-hour LED rating, 5-year driver warranty
- Magnetic snap-in track — replaceable from the front
Recommended Lighting for Each Media Wall Style
Every wall finish responds differently to light. Here's the lighting recipe we recommend for each of our design styles.
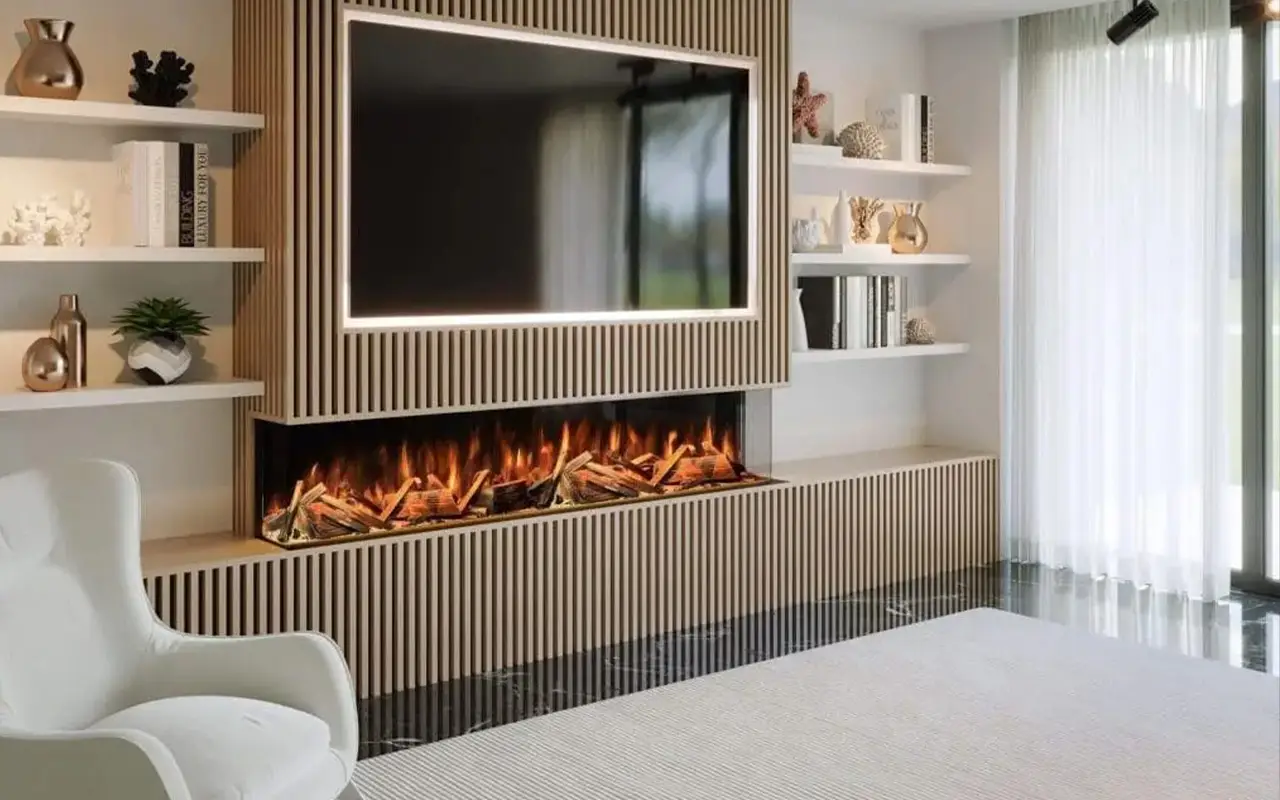
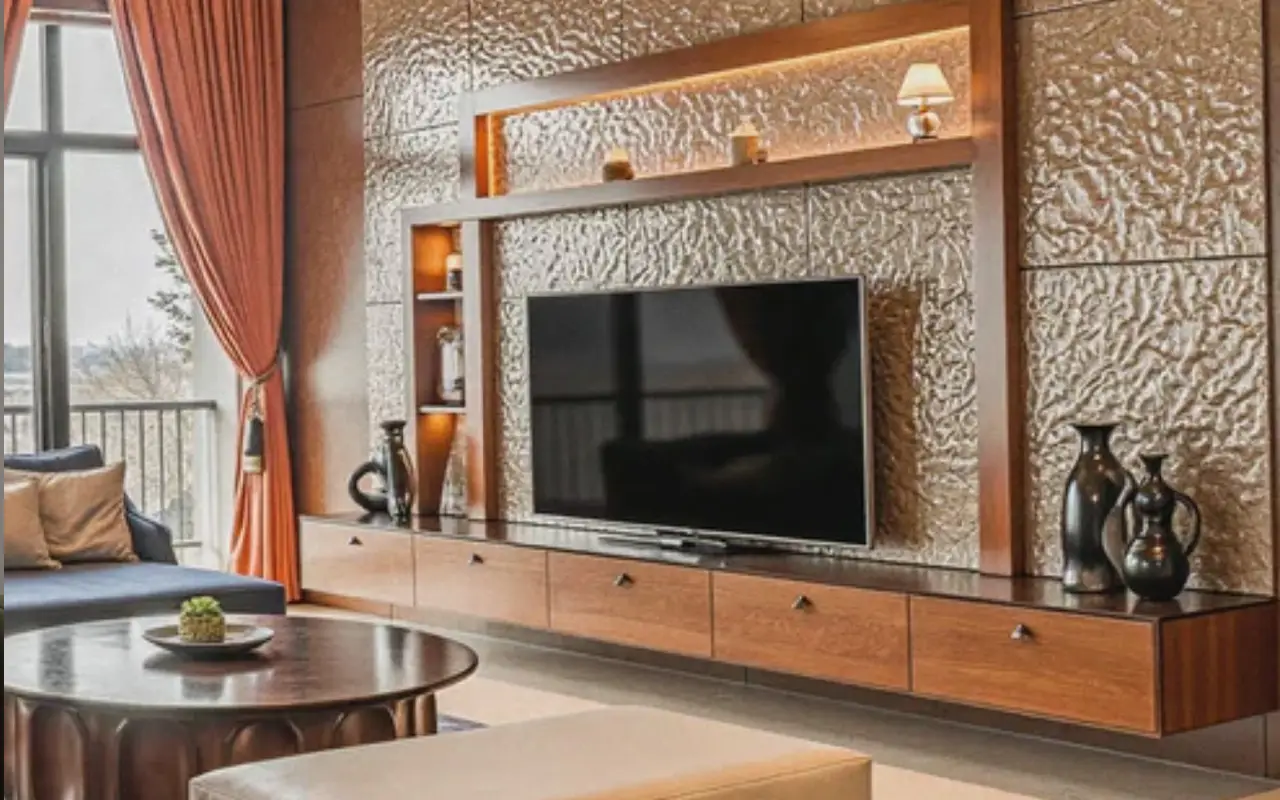
Slat Wall
Linear wash along each slat panel + warm cove uplight
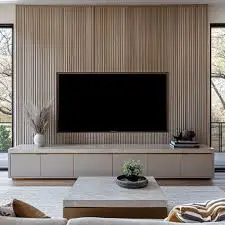
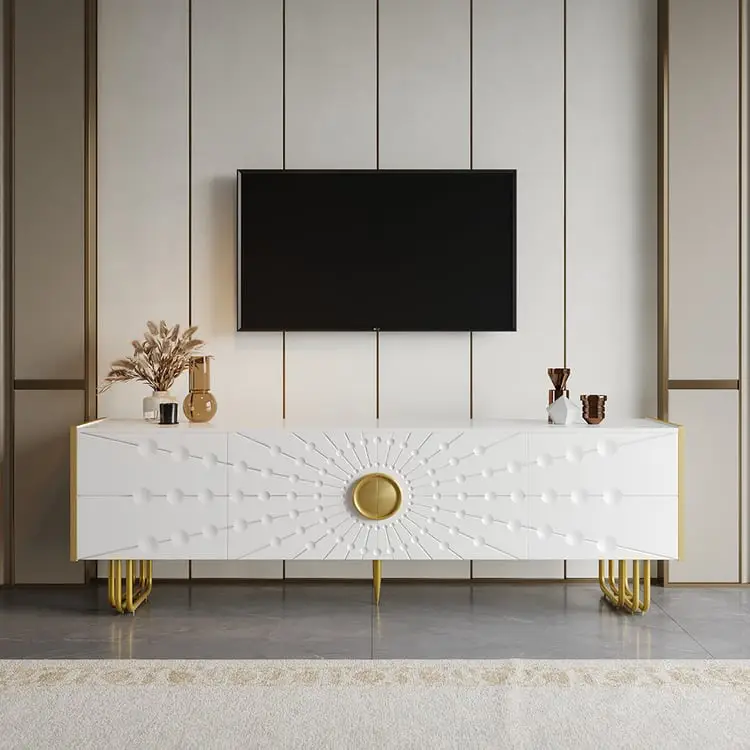
Modern Wall
TV halo backlight + recessed shelf spots in 2700K warm white
Art Deco Wall
RGB color-changing halo + brass-warm cove + amber accent spots
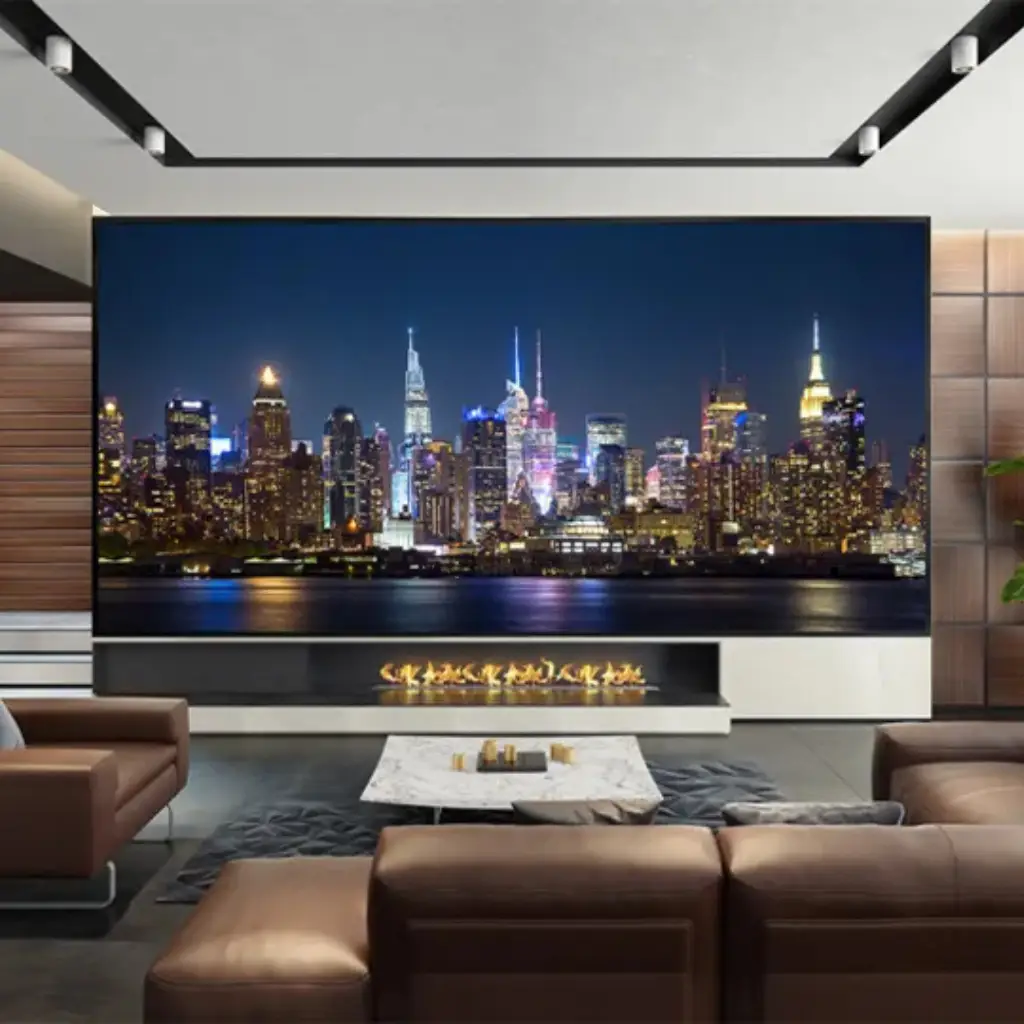
Cinema Wall
Bias lighting + dim cove + concealed step lighting at floor
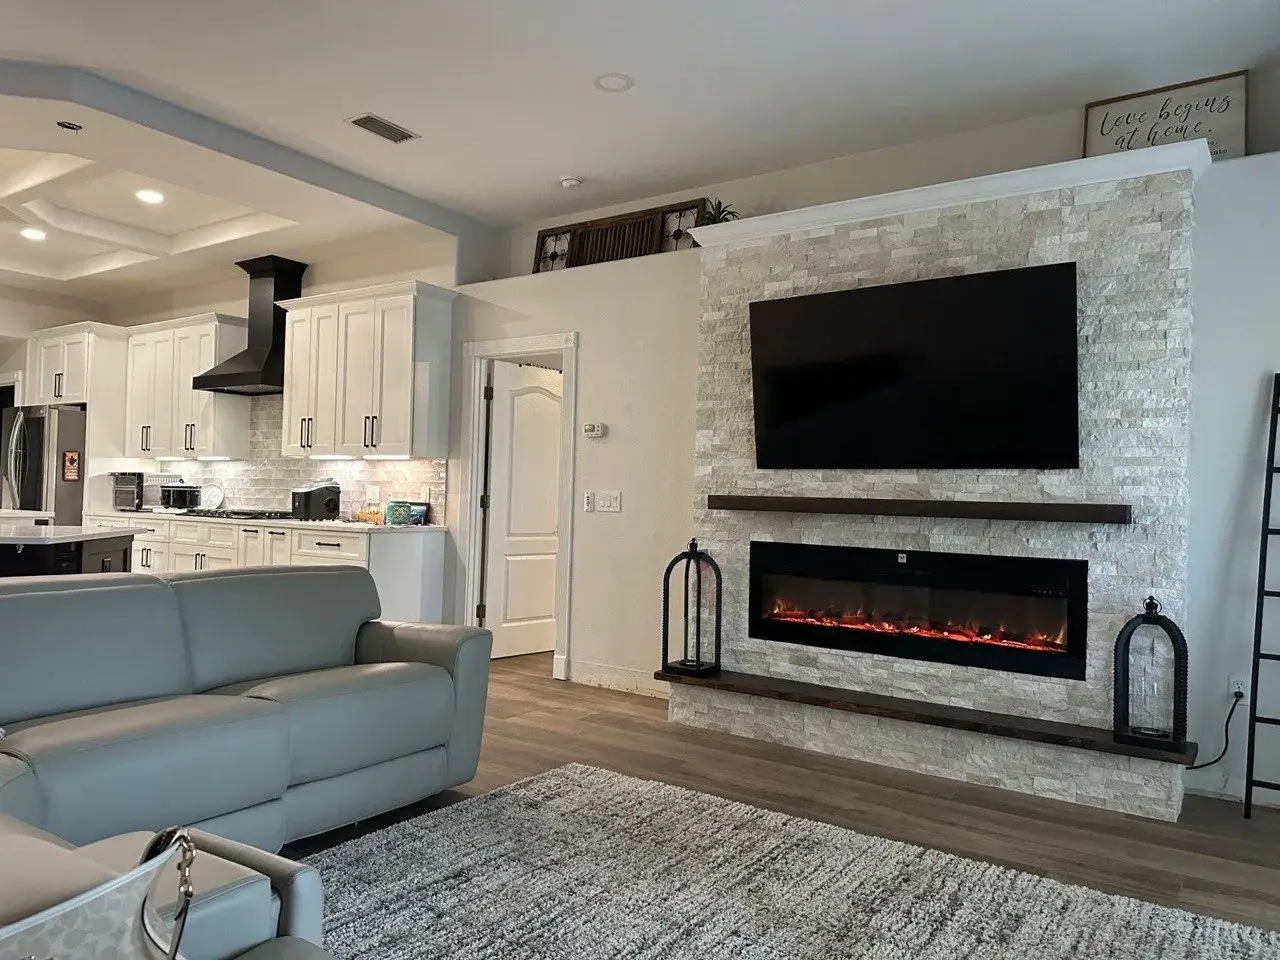
Stone Ledger Wall
Vertical wash from top edge to reveal stone texture and shadow
Luxury Wall
Multi-zone smart system: halo + cove + accent + toe-kick floor
Two Ways to Get Your Lighting Installed
White-Glove Installation
San Francisco & Alameda County Only- Custom Lighting Plan — Designer-led layout with scenes, zones, and color temperatures tuned to your room.
- Concealed Channel Routing — Every strip recessed, every wire hidden — wired into your existing electrical.
- Smart Controller Pre-Programmed — Lutron, Apple Home, Alexa, or Google integration set up and demoed onsite.
Nationwide DIY Add-On Kit
Ships to All 50 States- Pre-Cut LED Strips & Channels — Sized to standard panel widths — peel, stick, plug in. No soldering, no cutting.
- Wi-Fi Smart Controller Included — Same controller we install professionally — free app, voice control included.
- Installs in Under an Hour — Plugs into any standard outlet. Step-by-step video guide for every kit.